
documentation


For UWP you can find one example. We provide a CMakeLists.txt to generate the solutions to build the examples. The example can work with Assimp to load a model and display it with DirectX. This will render the model at the tracked position (contours in red: Tracking is lost, contours in green: object is tracked, contours in yellow: tracking is critical). Alternatively, you can use the example without Assimp. This will just show the debug image in which you can find the position of the model to track.
For building the example, we use CMake and Visual Studio 2019. For the simple example, which only displays the debug image, there are no additional requirements. If you want the model to be rendered, it must be linked to Assimp. You can download Assimp here.
Since we are Developing with Visual Studio 2019 for UWP, we strongly recommend to also use Visual Studio 2019 for these examples. Explicity, since Microsoft states that UWP projects created in current version of Visual Studio cannot be opened in Visual Studio 2015 we advice against using Visual Studio 2015 for UWP development.
VisionLib.SDK-Native.zip to your development folder.vlSDK.dll if necessary (downloaded files might be seen as a security risk on Windows and might be blocked by default): 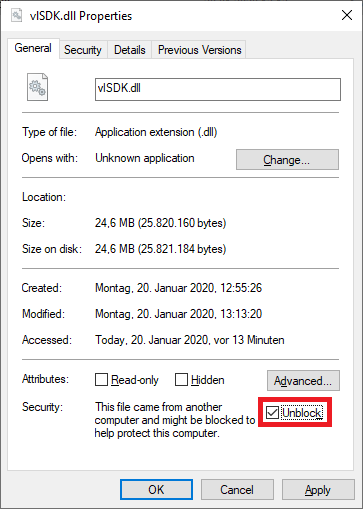
Configure 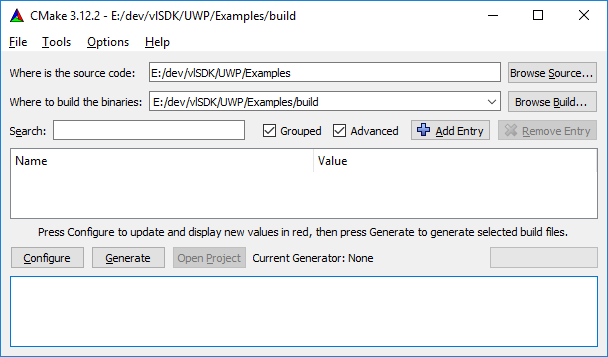
Visual Studio 16 2019) 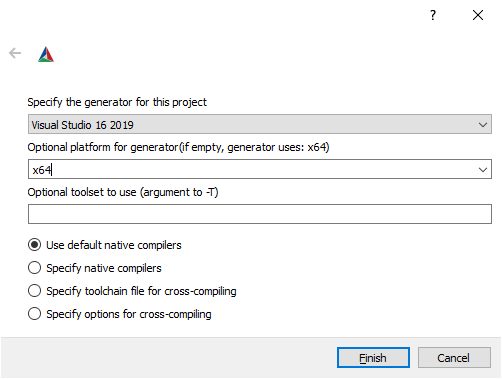
VLSDK_LICENSE_PATH variable). Now press Generate. 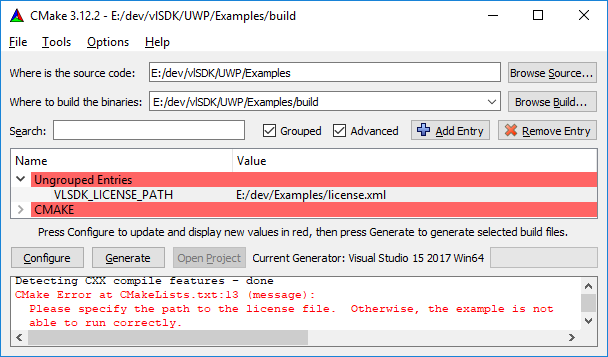
ASSIMP_DIR variable has to be specified to the base directory of the Assimp installation. 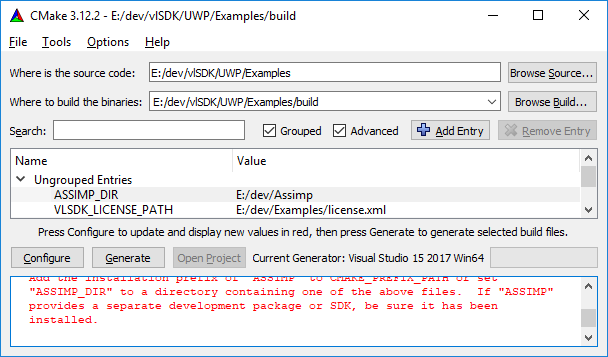
Generate and afterwards press Open Project. In the Solution Explorer, you should see the vlSDK_SimpleModelTrackerExample. Set this as Startup Project. 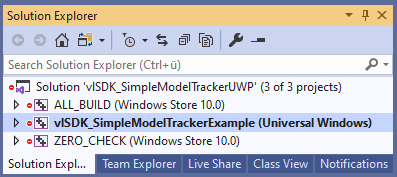
.vl file and model, you have to add these into the vlSDK_SimpleModelTrackerExample/Resources folder and change the loading code inside vlSDK_SimpleModelTrackerExample/SimpleModelTrackerMain.cpp. The code needs to be changed in the constructor of vlSDK_SimpleModelTrackerExample:std::string vlFilePath = "resources/car.vl"; should be the relative path of the .vl file.std::string modelFilePath = "resources/car.obj.txt"; should be the relative path of the model. Important: The model should not end with .obj, because this leads to problems with Visual Studio.To run the example, you just need to deploy and start it. For the debug image, it is important, that your tracking configuration contains the parameter.
"showLineModel": true
If this is enabled, you can see the camera image containing contours of the object to track (contours in red: tracking is lost, contours in green: object is tracked, contours in yellow: tracking is critical).
If you build the example with Assimp, you can see the camera image containing the 3D object to track.