
documentation


In this tutorial we look into the different ways to work with camera inputs, live and recorded video streams and explain how to change them in the tracking configuration.
VisionLib enables you to select between different video input sources. Such sources can be:
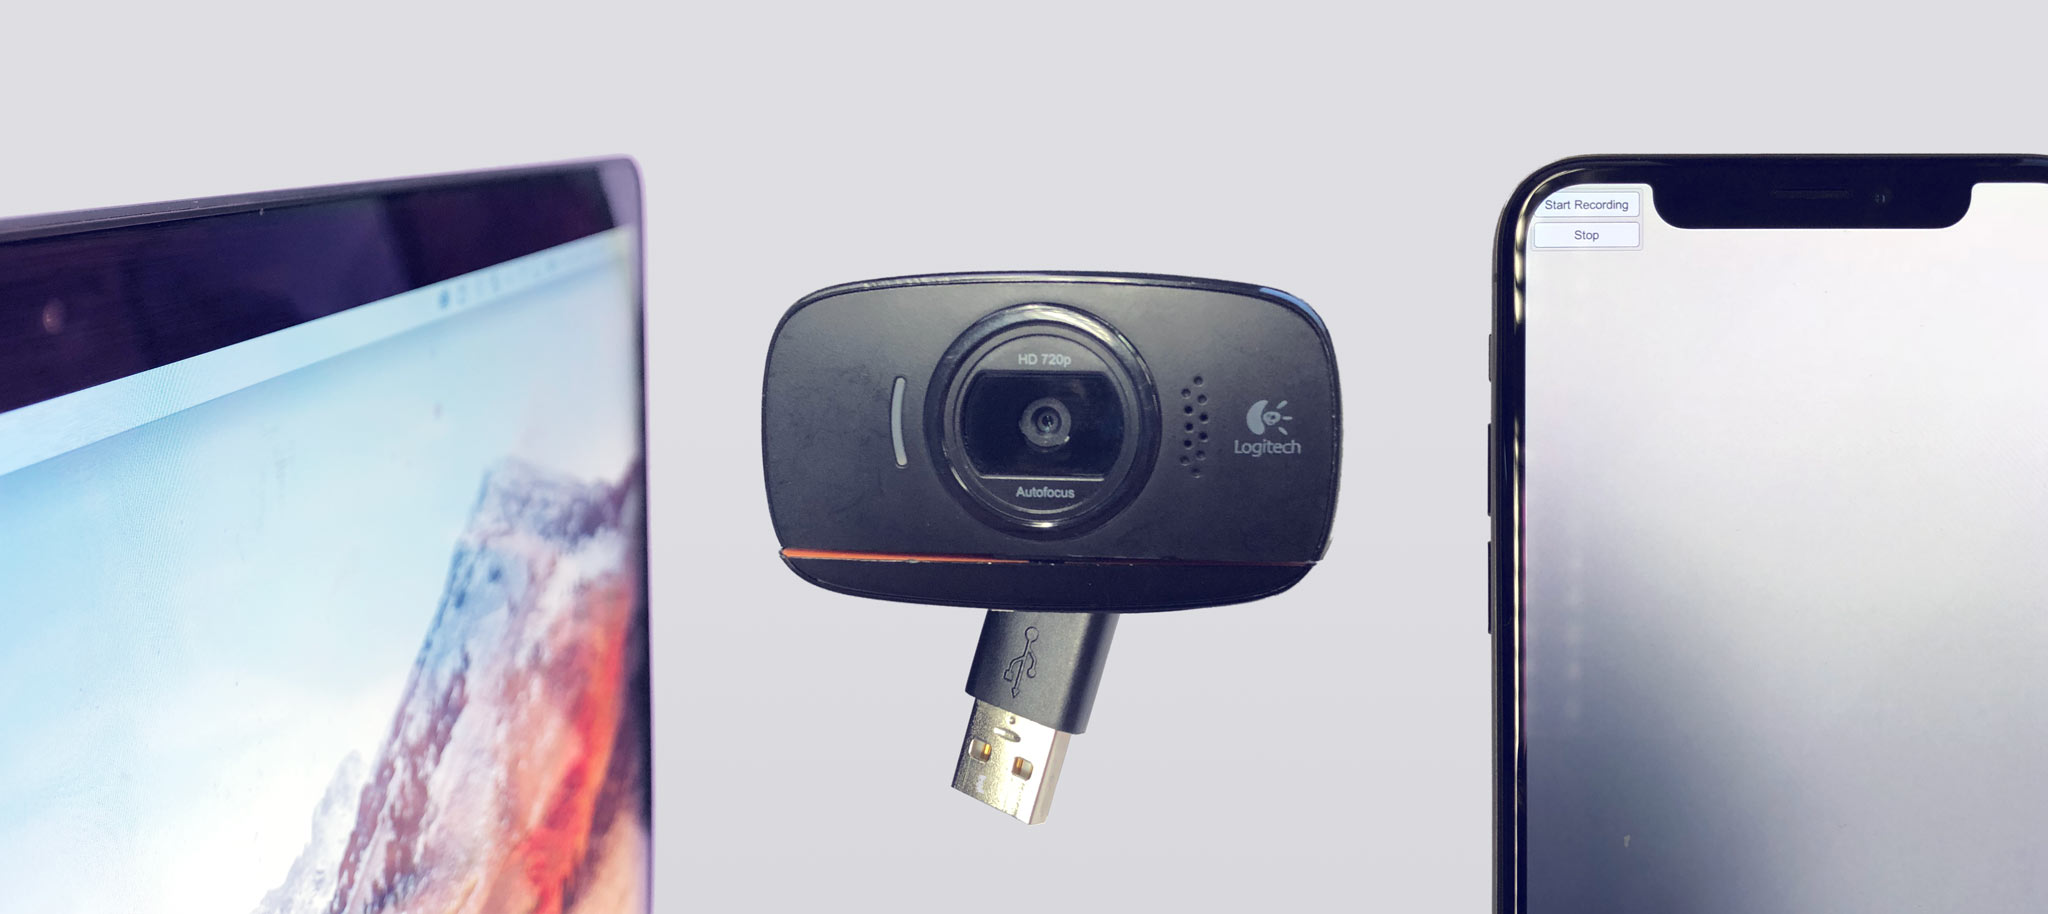
a) the live stream of built-in cameras (front or rear) of a mobile device, b) an internal or external camera attached to your computer, or c) a pre-recorded image sequence.
Especially during development, the latter can become extremely helpful, because you can test your tracking against your recorded video sequence. There is no need to point the live camera continuously at the real tracking target. Pre-recorded sequences enable you to test tracking configuration and application development at your desk if you do not have the tracking target at hand during development.
Which input sources are used is controlled via the tracking configuration (.vl file). The global reference for the tracking configuration files can be found here: Configuration File reference
In this tutorial we are going to change the input source and have a look at different Image and Input Sources, from a live camera to a recorded image sequence.
We start with an empty new project in Unity3D. As a test target we use the mini car model from prior tutorials. We've prepared demo assets you can use in this tutorial: you can download the do-it-yourself target template and a test image sequence from the Resources page. Make sure that you have downloaded the latest VisionLib SDK for Unity.
Import the VisionLib.SDK-Unity.tgz via the package manager and the VisionLib.SDK.Examples-Unity.unitypackage as a custom package in a new Unity project. After the import, switch to Assets in Unity's Project panel, go to VisionLib Examples/ModelTracking/Simple and open the SimpleModelTracking scene. The scene is created as a demo to work with the mini car model mentioned above.
Let's get a closer look on the scene. Select the VLTracking GameObject in the Hierarchy panel. In the Inspector panel, you can see that on the TrackingConfiguration component, the tracking configuration for the car is referenced and Use Input Selection is selected.
This option will let you choose any attached camera for tracking, which overrides the input definition in your tracking configuration. If you want to use the input defined in your tracking configuration, select the option Tracking Config Input instead. To enable the camera selection on mobile devices, simply check the Show On Mobile Devices option.
For the next steps, disable Use Input Selection to always use the input defined in the tracking configuration.
Let's open the tracking configuration of the car and take a closer look at it. Here, we are going to add different input sources in the next steps: Open the folder StreamingAssets/VisionLib/Examples/ModelTracking in the Project panel, and select the SimpleModelTrackingConfiguration.vl file. Make a right-click on it, Reveal in Explorer (Win) or Finder (macOS) and edit it with your preferred text editor. The file should look like this:
As you can see, currently there is no particular input source defined. Instead, VisionLib looks automatically for camera sources (and the input selection of the TrackingConfiguration component managed the multi-camera selection before we disabled it earlier).
There are several ways to add input sources and define them. For instance, you can add a live camera, a video or an image sequence. You can also define several input sources at once and specify which one you want to use.
Next, we will add an "input": {} section for a live camera in addition to the "tracker": {} definition in the tracking configuration of the car. This definition will work with any external camera attached to your desktop computer or with built-in front-facing cameras of laptops.
Copy the lines starting with "input":{} into your SimpleModelTrackingConfiguration.vl file:
By doing so, we are adding an "input {}" object and an "imageSources []" array to our tracking configuration. We are defining a source of type camera inside the array. Unless further details are added, VisionLib will simply select the first available camera. On a laptop without an external USB camera attached, the built-in camera is selected.
Save the changes, get back to Unity and run the scene. If you made a typo in the JSON, an error might be thrown in the console (Failed to load tracking configuration).
When multiple cameras are available, cameras can be selected by setting the unit property in the data object of an imageSource to the index of that camera.
This is especially useful if several cameras of the same kind are attached to the system since they are not distinguishable by their position or their deviceID (see below).
In general accessing camera sources by their unit can become confusing, as on some mobile devices unit 0 addresses the rear camera while on others it addresses the front camera. On some devices (e.g. Microsoft Surface Pro 3 with Windows 8.1) the camera unit might even change after each re-boot.
An alternative way is to use position instead. This parameter allows to specify "front" and "back" depending on whether a front-facing or a back-facing camera should be used.
Such a camera definition might look like this:
Unfortunately this doesn't work for external cameras or on systems which don't report a camera position.
Another alternative is to use the deviceID instead. This allows to explicitly state which camera to use. In the hierarchy of the example scene, select the VLTracking GameObject and set the log level of the GeneralSettings component to Info. Run the example scene in Unity again and have a look at the Console. When selecting a certain camera, VisionLib prints the deviceID and the available formats of the chosen camera to the console. Both can be used in your tracking configuration.
An example console print:
Switch to the text editor and paste the deviceID and the desired resolution into your tracking configuration file.
Your definition should look like this:
Go back to Unity, run your scene and press the Start button.
If a camera with the given deviceID wasn't found, you will receive a warning in the log.
There is also a shorthand for using the device ID right away:
deviceID, position and unit are just hints for finding an appropriate camera. Therefore they can also be defined together like in this example:
The VisionLib will try to find an appropriate camera, by processing those hints in the following order:
deviceIDpositionunitIf no matching camera can be found, then the VisionLib will simply use the first available camera. A fatal error will only get reported, if no camera can be detected at all.
Note: this functionality is currently only available for Windows.
Motivation: In some situations, it is desirable to have better control over the camera settings. For example, if high accuracy is required, it may be useful to turn off auto focus and calibrate the camera for a fixed focal value. Also, one might want to fix the shutter time (exposure) to a small value to reduce motion-blur effects. Brightness, contrast, and gain could also be fine-tuned in order to better address use-case specific lighting conditions.
Currently, the following parameters are exposed:
The parameter's value can be set via <parameter-name>Value=<some integer>. The automatic adjustment of a parameter can be triggered with auto<parameter-name>=true // or false (camel-case notation is used with the first letter of the parameter name being capitalized).
Note that these parameters are hardware / driver dependent: they do not always have a physical meaning, the adjustable range may vary for each camera device and / or the parameter may even have no effect at all.
The camera control parameters can be set in the data scope of the particular device as shown in the following example. The user-defined parameter values will override the default settings (see comments):
In the next step, we are going to use an image sequence as an input source. As mentioned above, you can use our test image sequence. Download the file and copy it, then paste and unzip it in the StreamingAssets/VisionLib/Examples/ModelTracking of your project. A new folder testsequence/ will be created with the jpg-sequence in it. Next, switch to your text editor.
In your tracking configuration, replace your prior statement with:
The uri property of the data {} object points to our unzipped folder with the image sequence inside. In our case, we use a JPG sequence, but it could a PNG sequence, too. The deviceID property tells VisionLib which camera intrinsics to use. Ideally, it matches the one from the device that was used to record the image sequence. In our test case the sequence was created with an iPhoneX using the ImageRecorder scene that is also available in the VisionLib Examples/ImageRecorder folder. Other deviceIDs can be found in the list of supported devices.
Switch back to Unity3D and test your scene with the new input definition. If everything worked out, you should see the image sequence as video-background instead of a live camera.
Since version 19.3.1, you have the possibility to replay image sequences along with its intrinsics. The deviceID is by default ignored. In case you want to prevent the visionLib to load the intrinsic parameters provided through the recorded sequence you may add the ignoreImageSequenceIntrinsics:true to the data section of your imageSequence definition. Like this you may overwrite the saved calibration (very rare use-case).
Replay ARKit/ARCore scenes on desktop by setting simulateMobileRecording as seen below:
In the tracking configuration, the following parameter has to be added to the parameter section of the modelTracker: "simulateExternalSLAM":true
Sometimes, the initialization can be tricky. Make sure that the init pose of the physical target at the sequence's start and the one defined in your scene match: either you match the pose during the sequence recording or, you adapt the init pose in your scene. The quickest way to the latter is to reposition the VLInitCamera. Select it under VLTracking in the Hierarchy panel and move it to match the tracking target's position in the image sequence. Please note that moving the object model instead of the VLInitCamera, except for the correction of the coordinate system, will produce a misalignment of the augmentation during runtime.
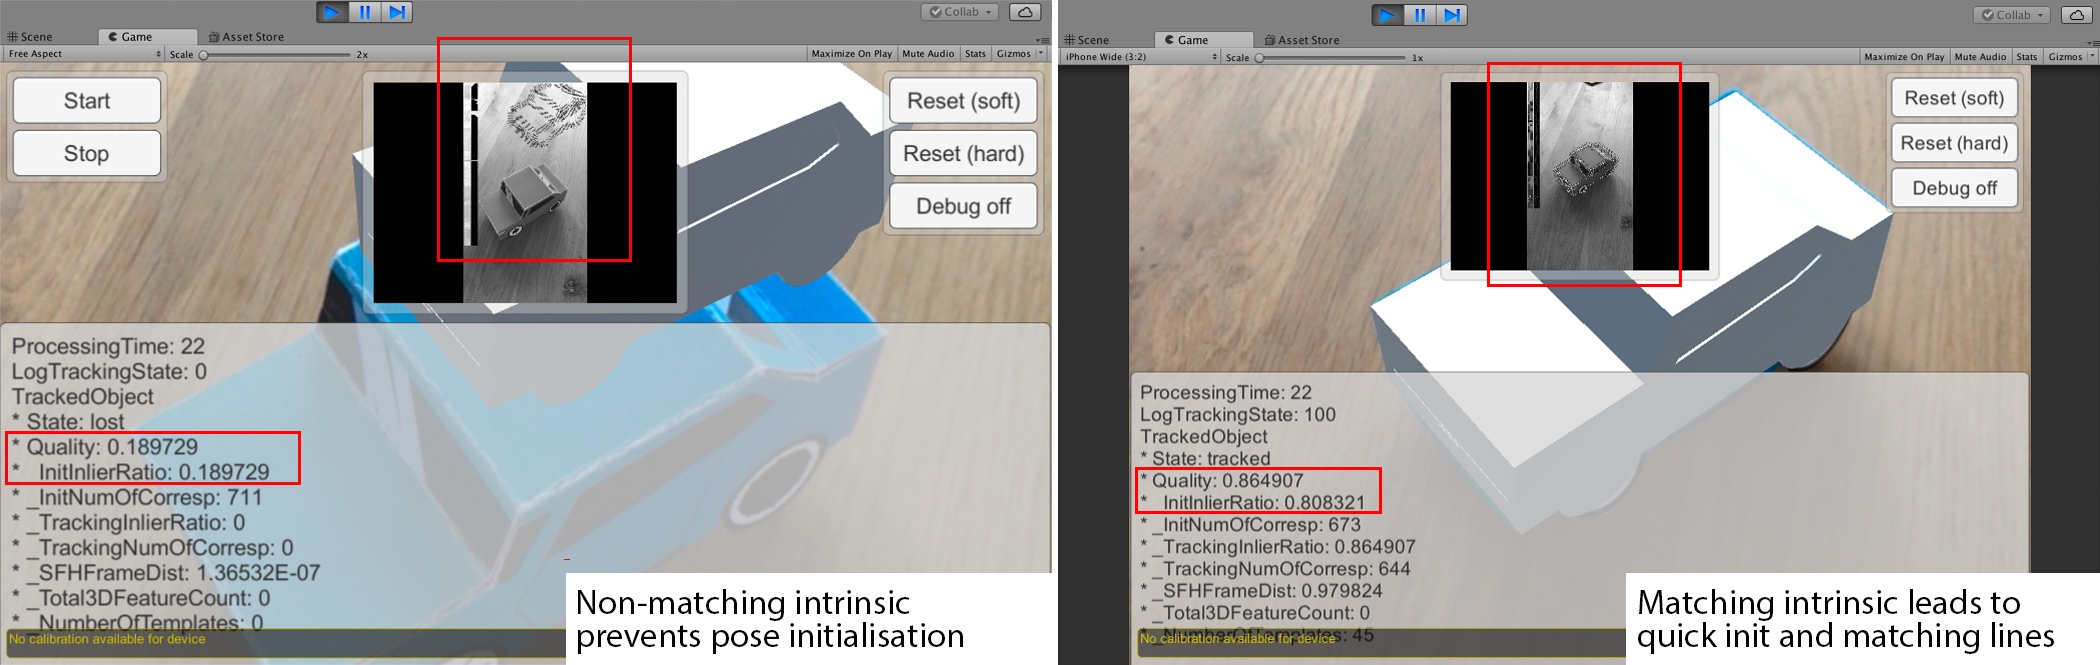
Make also sure to set the right intrinsic via the device attribute in the tracking configuration. If your tracking doesn't snap-in quickly and init correctly, you can press the Debug on button with a running scene in Game mode. If you see the model tracker's search lines but somehow they appear off while having set the init pose manually, the intrinsic probably doesn't match. The image above shows a failing initialization by such an intrinsic mismatch (left) and a successful one with a fitting intrinsic (right) for the same image sequence.
To summarize this tutorial: We've learned how to define input source in VisionLib's tracking configuration for different input types, and identified different ways of addressing input devices. As mentioned at the beginning, you can also have several input declarations in one file, collected in the imageSource [] array, and identify which one to use with the useImageSource property by associating it with the source's name.
In our case, the updated tracking configuration of the car holding all definitions with imageSequence0 as selected input looks like this:
Since you now know how to use a prerecorded image sequence as input, you might want to know how to record one, too. You can find more information about this in this tutorial.