
documentation


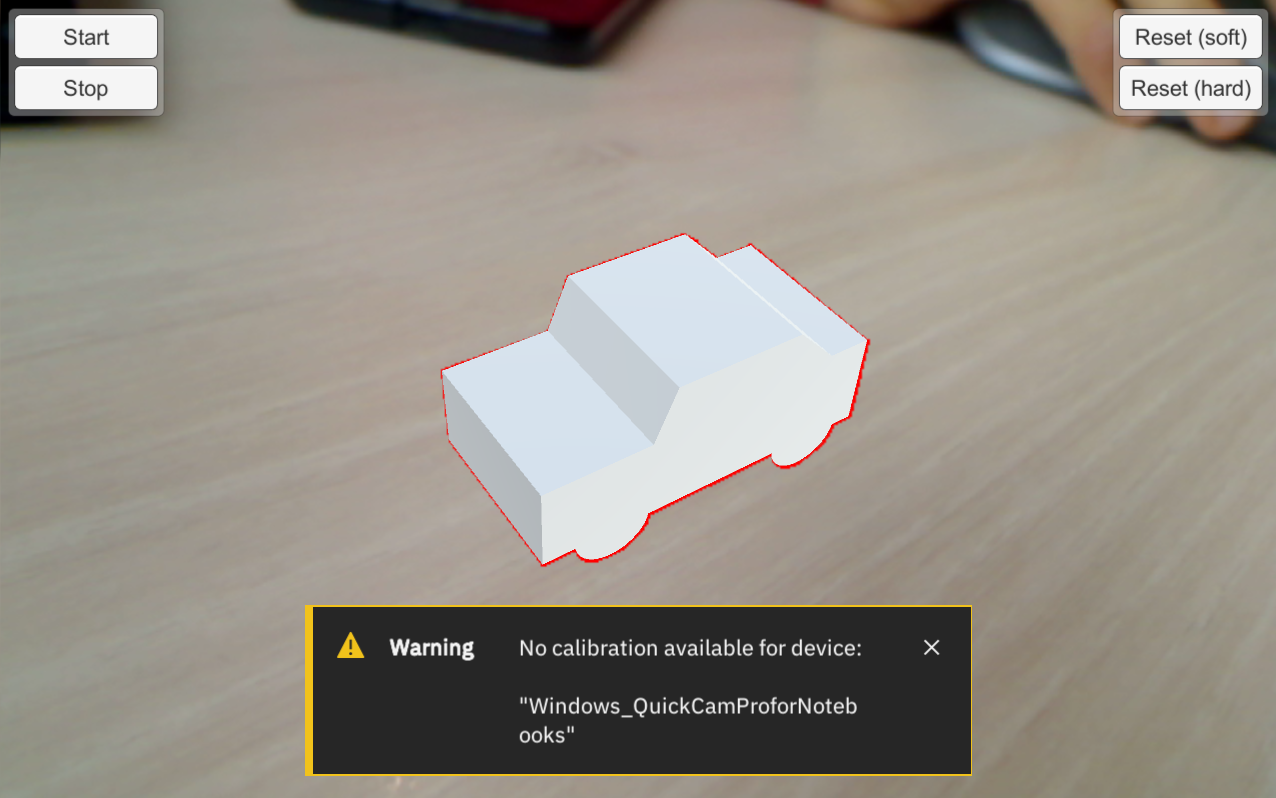
When working with the VisionLib Unity SDK on a local machine, you might experience the following message in your application window during Play Mode: "No Calibration available for device".
The camera calibration process is explained step-by-step in two video tutorial in our YouTube channel:
VisionLib comes with a growing database of camera calibration information. Your web cam, other custom camera hardware, and some android devices might not have been calibrated or are unknown to VisionLib. In such cases, you get the missing calibration notice.
That's not a problem per sé, as newer mobile platforms, like iOS since 12.x and Android since API-Level 21 (around Android 5.x), feature information on camera characteristics built-in. VisionLib will use these, when available. While this works great on iOS, please note, that this service isn't stable on all Android devices and platforms. Please check the calibration status especially for those Android devices you want to use and support.
A missing calibration affects the superimposition quality of your 3D content: even if the tracking seems to work, your content may still appear misfitted. Moreover, it has a negative impact on tracking quality and stability. For these reasons We strongly recommend the calibration of such cameras.
Inside the VisionLib Examples/CameraCalibration/Scenes folder of the VisionLib SDK example package for Unity, we provide the CameraCalibration scene to help you calibrating your hardware.
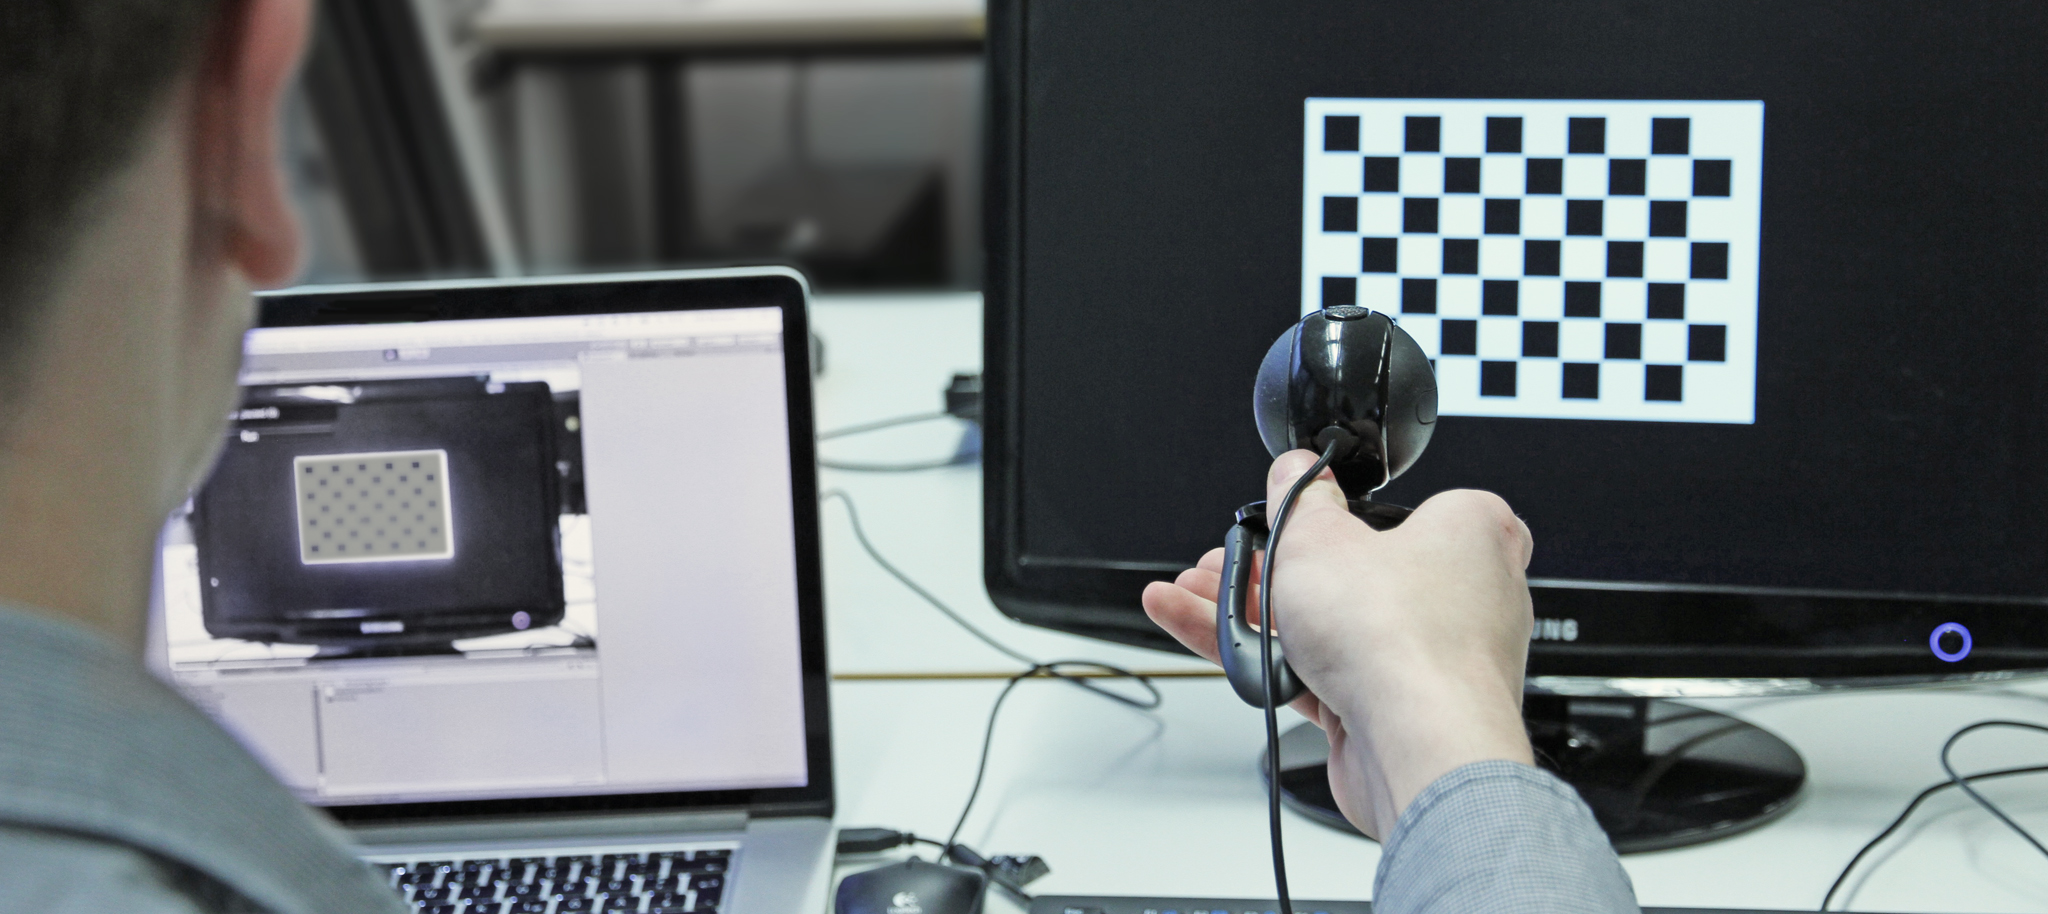
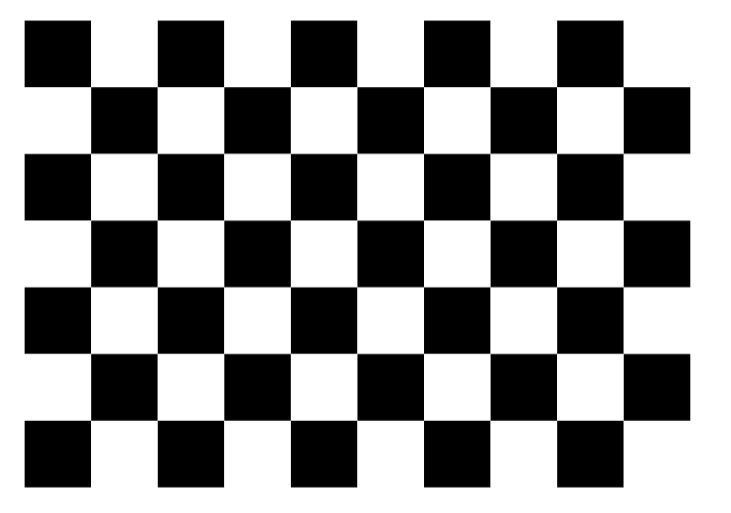
With your camera attached to your local machine, you will need a special chessboard graphic to calibrate the camera. You can find the chessboard pattern under VisionLib Examples/CameraCalibration/Images or download it here.
It is recommended to use a second monitor in order to display the pattern (it should be a flat screen). If that's not possible, print it and put it onto a flat surface.
In Unity, load the CameraCalibration scene from VisionLib Examples/CameraCalibration/Scenes. It will guide you through calibrating your camera. You can read more about the idea, some recommendations, and how to use the camera calibration in general here. On Windows platform, you can additionally select the resolution that will be used for the calibration by activating the Resolution Selection checkbox in the VLTracking/CameraCalibration GameObject. A higher resolution will lead to more precise results but also requires more processing power. Don't forget to set your license file in the TrackingConfiguration component of the VLTracking GameObject first. Now press Play and select your camera to be calibrated. Then press the Run button.
When the chessboard is recognized, it will be augmented with a grey surface. Aim your camera at the pattern and move the camera slowly towards the pattern from different angles.
Please keep all corners of the chessboard visible in the camera image at all time. When you have collected about 300-500 images, press the Calibrate button and wait until the calculation has been finished (may take a minute). After that, you can store your results in a JSON file by pressing the Write button.
A destination URI is pre-configured, pointing to the Documents folder of your device. It will either create a new calibration.json file or extend the existing one so that you can store multiple calibrations for different camera or device models within one JSON file.
The generated calibration can be (re)used now. You might keep it on your local machine for development or local use, or you can put it inside your Unity project, in case you want to deploy an app e.g. on a mobile device. To achieve the latter, copy the calibration.json from the document directory into your Unity project's StreamingAssets/VisionLib directory; which is basically where you keep all tracking configurations.
In Unity, you can reference the used calibration by dragging it from the project view in the public Calibration File field of the TrackingConfiguration component on the VLTracking GameObject. If you want to load the file directly from your local documents folder instead, you can set the dropdown next to the field to URI and paste the following value inside, which uses an internal VisionLib scheme: local-storage-dir:calibration.json.
In order to calibrate the camera of a mobile device, e.g. a smartphone or tablet, you must first deploy the calibration scene to the device and execute it. Use Unity's Build and Run to deploy on your mobile. Please note that you need to get the resulting calibration.json from the device in order to integrate it into your project before you can finally deploy it. Due to this, make sure you can access the app's file e.g. via File Sharing enabled on iOS, or by browsing the files when having the device attached by USB.
Once deployed on the device, run the scene and follow the same process as described above, which is filming the chessboard with the mobile device. Once you are done, get the resulting calibration.json from your device and add it into your Documents folder (for local use) or copy it to your Unity project the same way as described above.
One thing that makes handling of camera calibration complicated, are (mobile) devices that have varying internal camera hardware IDs. Whenever you calibrate a device, VisionLib will store and associate the calibration to the hardware ID. This may cause problems when you intend to deploy your AR app for a greater audience. For example, depending on the configuration, Samsung's Galaxy Tab S3 has different internal names/IDs for their rear camera, e.g. SM-T820 and SM-T825, although all run under this device name. Because VisionLib can't know all IDs used for this tablet, calibration won't work for all users per sé.
You can find lists of the many IDs for Samsung and other vendors, and usually only IDs vary, while the hardware configuration is more or less the same, which allows you to use the calibration data for all of them. So, in order to enable you to broaden the association, you can look up multiple device IDs manually and add the alternativeDeviceIDs to your calibration.json.