
documentation


In order to use VisionLib in Unity projects that make use of the Universal Render Pipeline, some simple steps are necessary in addition to the usual setup. This article will guide you through those steps and will also explain how to adapt existing scenes.
This scene can be a starting point for custom scenes that will use VisionLib together with URP.
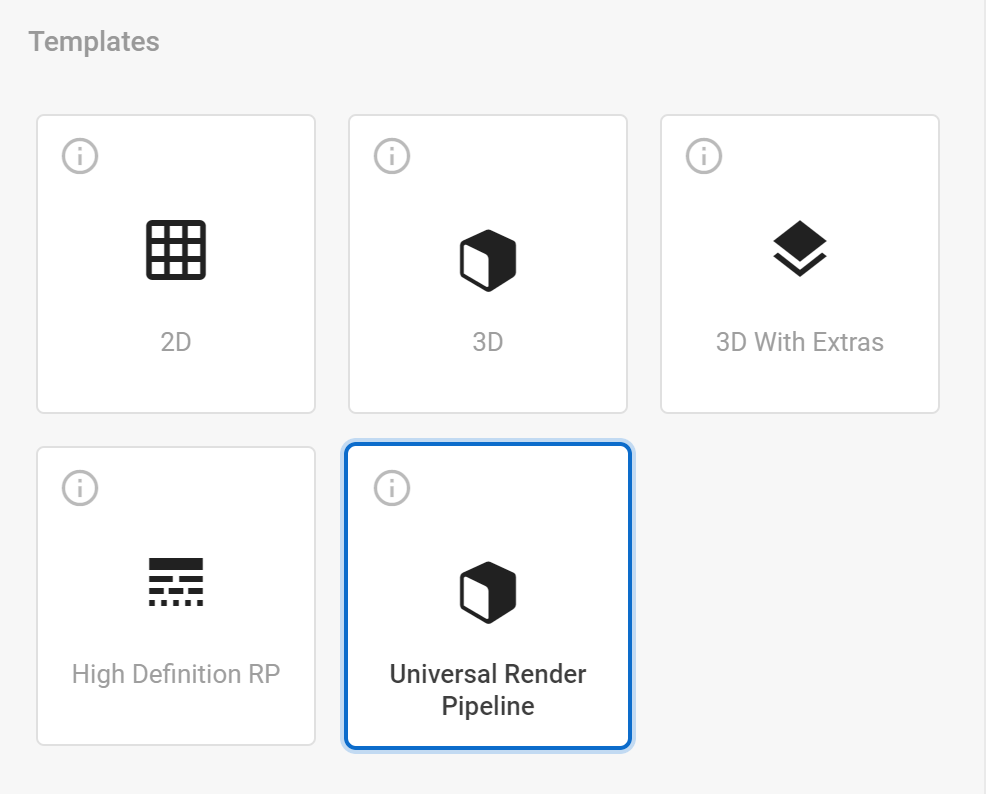
Please start by creating a new Unity Project using the Universal Render Pipeline template.
Now, please open the Unity Package Manager to install the package VisionLib.SDK.URP-Unity.X.Y.Z.tgz from the Extensions folder in the current VisionLib.SDK.Unity release. See also VisionLib SDK Packages.
After that, import the URP example from VisionLib.SDK.URP.Examples-Unity.X.Y.Z.unitypackage in the Extensions folder.
Now, open the scene called SimpleModelTrackingURP in Assets > VisionLib URP Examples > Scenes. Besides supporting URP, this scene is identical to the SimpleModelTracking scene from the standard examples. Read UnitySDK Quick Start, for more details on that.
At first you should follow the official Unity guide to convert your existing project to use Universal Render Pipeline.
Afterwards, please open the Unity Package Manager to install the package VisionLib.SDK.URP-Unity.X.Y.Z.tgz from the Extensions folder in the current VisionLib.SDK.Unity release. See also VisionLib SDK Packages.
The final step is to replace the existing VLCamera GameObject with one created from the VLCameraURP prefab variant.
Note: If you have not been using the VLCamera prefab, you can instead add the Background Image Renderer URP script to the GameObject which contains the Background Image Renderer script.