
documentation


In one of the prior tutorials we got into the different input types which you use for tracking.
In this tutorial we are going to record an image sequence of tracking a target for testing. Especially during the development, using pre-recorded image sequences can become extremely helpful. With VisionLib, you can pre-record sequences which enable you to test tracking configuration and application development at your desk without the need to have the targets physically present.
Note: It is a good practice to use recorded image sequences for testing and adjusting tracking parameters by replacing live camera input in Unity through the sequences. While technically you are able to playback sequences on mobile devices too, make sure to turn back to life input before deploying your app to mobile devices.
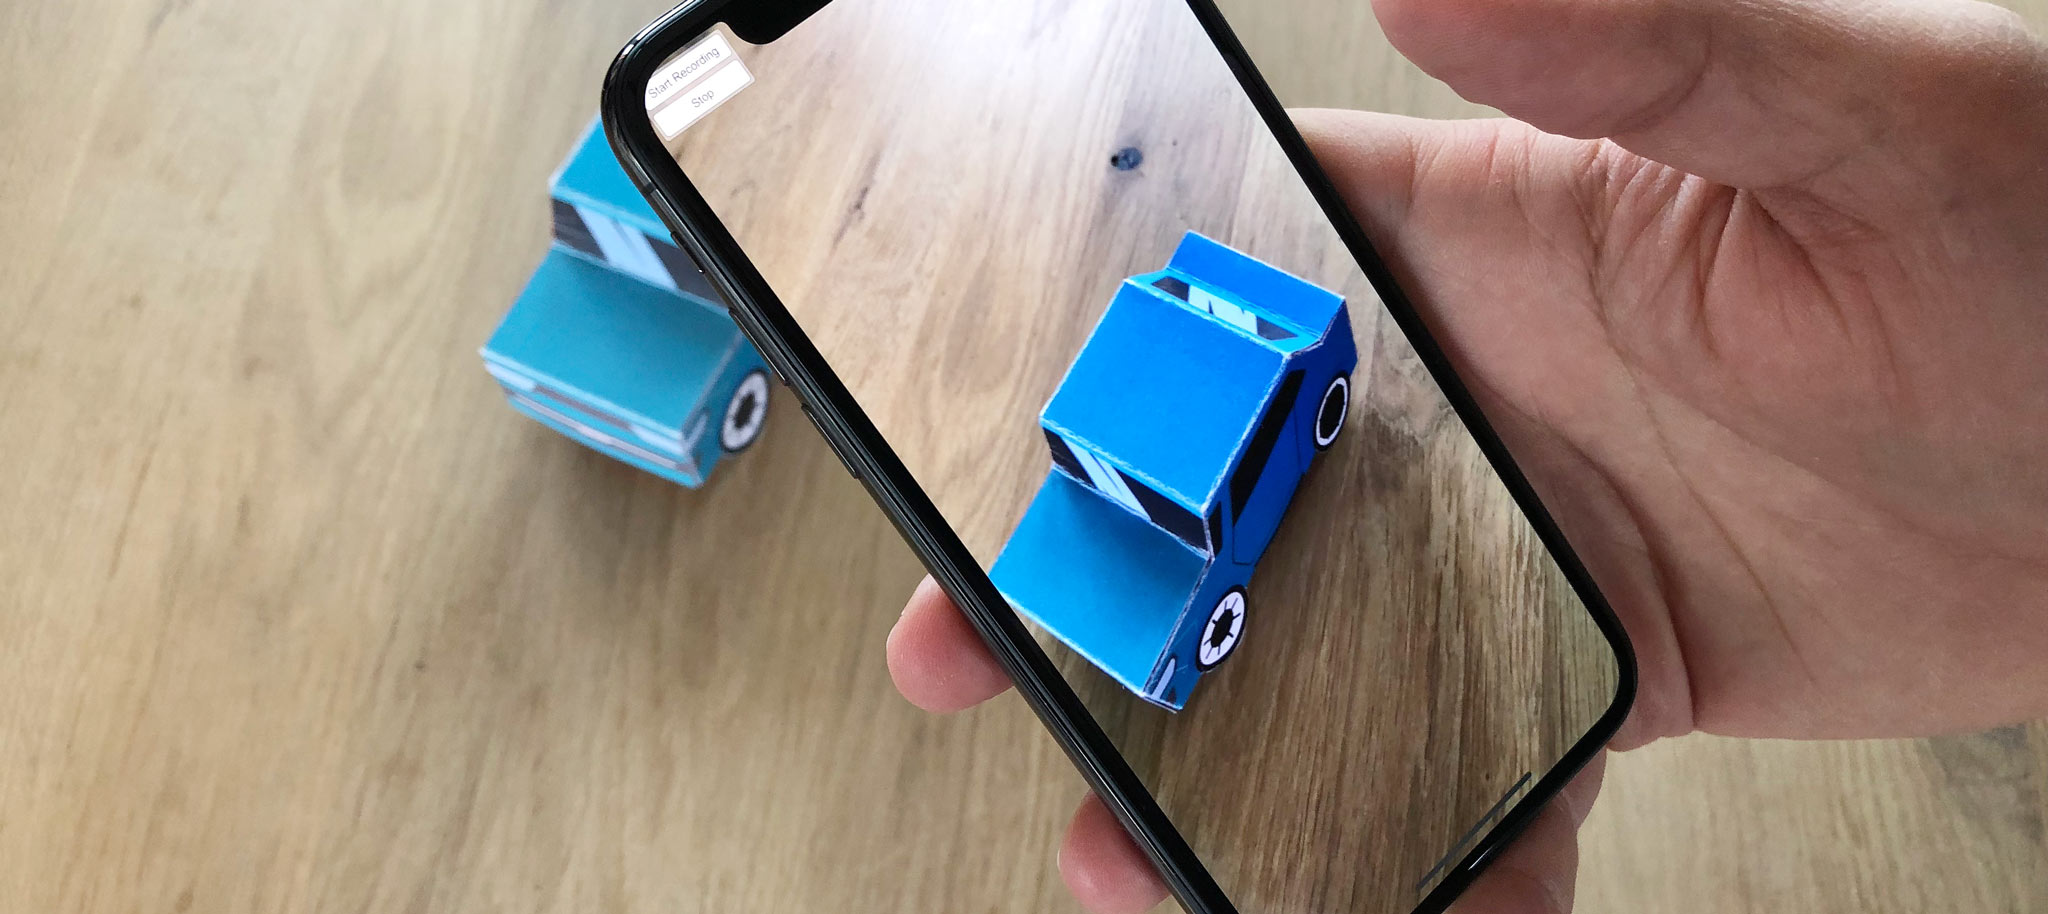
We start with an empty new project in Unity. As a test target we use the mini car model from prior tutorials. You can download the car template here. You can create a sequence either with your built-in camera, an external camera attached to your computer or with the camera of a mobile device. As the latter basically includes the process of the first two, we will explain how to use a mobile device, in this case the iPhone X. We also assume you have downloaded the latest VisionLib SDK for Unity.
After importing the VisionLib.SDK-Unity.tgz via the package manager and the VisionLib.SDK.Examples-Unity.unitypackage as a custom package, switch to Assets in Unity's Project panel, go to the VisionLib Examples/ImageRecorder folder and open the ImageRecorder (For recording an image sequence on HoloLens, see the section below). Run the scene inside Unity with a camera present. In Play mode you'll see two buttons on the left side, Record and Stop.
Pressing the first will start the recording, pressing the latter will stop it. The records are stored on your hard disc inside a recordings folder, when running the scene on your desktop. Each take is stored in an record_<index> sub-folder with an increment at the end, once you press the Stop button.
An overview of the file locations and more details can be found in the reference at: Image Recorder and Configuration File Reference (Windows it is User/username, on Mac /Users/username/Documents, iOS: Documents).
Stop the scene and take a quick look at the tracking configuration used for recording: In the Project panel, open the folder StreamingAssets/VisionLib/Examples/ImageRecorder and select the ImageRecorderConfiguration.vl file. Right-click on it, Reveal in Explorer (Win) or Finder (macOS) and view it with your preferred text editor. For this tutorial, we don't need to make any changes. The file should look like this:
If you don't intend to build and run the recorder on a mobile device, your are almost good to go. By running the scene inside Unity, you can record camera images and use them in your project later on. You can skip the next section and continue with the instructions to replay your sequences.
We recommend to use the same camera for recording, as later on in your project, since the camera lens intrinsics are then the same.
There is an additional scene for image recording on HoloLens. Instead of buttons, you have to use voice commands to start (Begin Capturing) and stop the recording (Stop Capturing).
It is recommended to use the capture-dir scheme in the recordURIPrefix. The files can then easily be accessed via the the windows file explorer (Internal Storage/Videos/Captures).
Note: There are still some performance issues in accessing the hard drive on HoloLens. Some frames might get lost during recording, so the quality of the recording is increased, if you move around very slowly.
Note: Please be patient, writing the images after stopping the recording might take a while. Wait until the UI is visible again.
As mentioned earlier, in this tutorial we are going to use an iPhoneX to record our image sequence. To do so, open Unity's Build Settings dialog and switch the build platform to iOS.
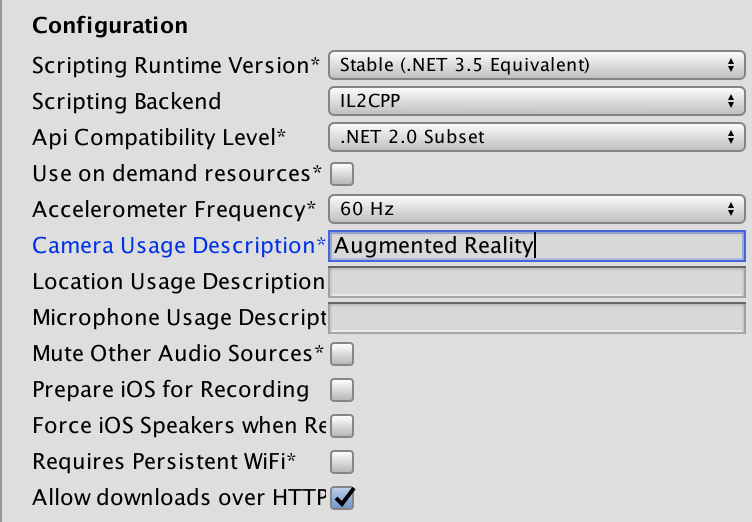
Next, open Project›Settings›Player. At Other Settings put a text in the Camera Usage Description, for instance "Augmented Reality, please allow". Once built and published to the iOS device, a dialog will prompt you to give this app access to the camera. Since we intend to use the camera, this parameter ensures our scene/Unity app won't be blocked from iOS' security settings.
Next, build an Unity-iPhone app from your scene: open Build Settings again and press Build and Run. Unity will ask for a location and app name. Choose whatever you like, for instance imageRecorder.
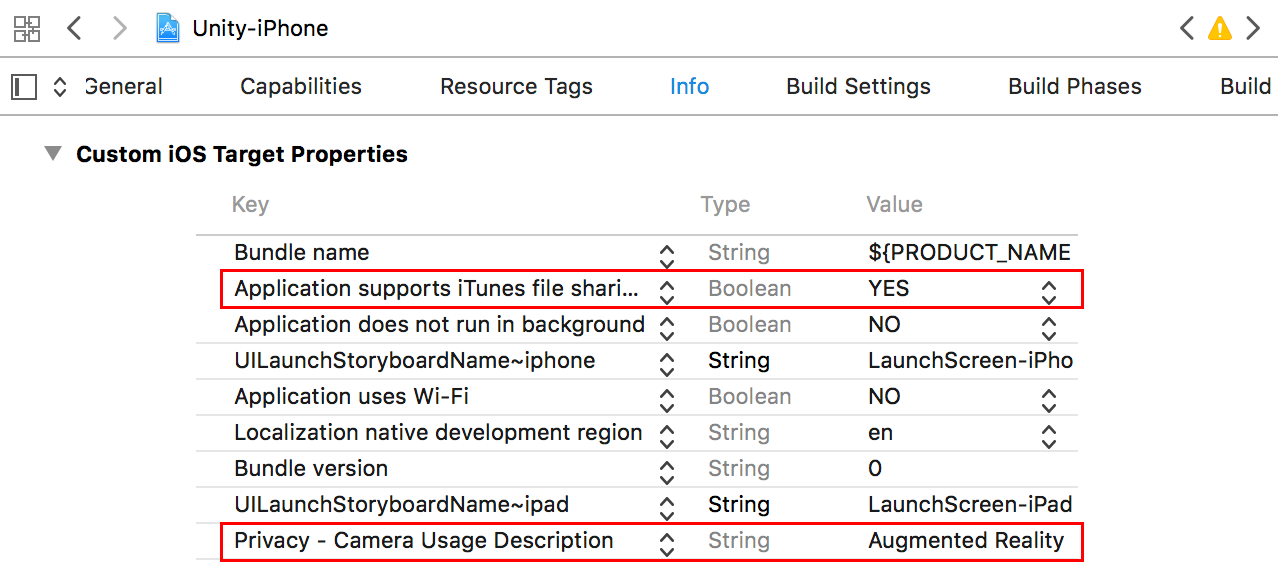
Open the resulting project in Xcode, after Unity has finished compiling. We need to do one more adjustment, before we can build the app and deploy it on the smartphone. Switch to the Info tab with the Unity-iPhone project opened in Xcode. In the Custom iOS Target Properties, add the key UIFileSharingEnabled to the list and set its value to YES. This will basically enable file sharing for our app: by doing so, we can use iTunes to access and download the recorded image sequence from our phone by connecting it via cable.
If you haven't done it already, attach your phone to your computer and hit Build and Run in Xcode. Once the app is built and published, take your phone, open the app and record a sequence of your target: press Record and Stop once you're done.
While recording, focus on parts of the target that are of interest to you during development. Make sure you start with a good pose or match your init pose in order to ease initialization when using the sequence as an input source. Hold the pose for a couple of seconds before you start moving around your target. In general, don't be too fast or shaky in your movements, e.g. don't flip or change your pose too suddenly, and try to avoid intensive motion blur when you move.
Important note: From VisionLib version 19.3.1, images on mobile devices are recorded in landscape orientation. If you flip your device to portrait orientation, the sequence will be saved in landscape orientation (turned).
If you plan creating an application using ARKit or ARCore, you may have noticed that enabling the external SLAM usually happens by setting the extendibleTracking parameter to true. This also happens in the image recorder by checking the Extend Tracking With SLAM checkbox. Then, the external SLAM pose of ARKit/ARCore is saved additionally and can be used to replay the whole scenario, as if you would have a mobile device on the desktop. Please also check the image recorder reference or the input sources tutorial for more information.
Reconnect your mobile device to your desktop machine with a cable.
Open iTunes, select your connected phone and then File Sharing listed under Settings from the left panel. At File Sharing select your recorder app, in our case named imageRecorder. Once selected, you will see the app's accessible folders listed. Select records, next press Save to... and store it locally.
On HoloLens, the image sequence can be accessed via the regular file explorer:
Internal Storage/Videos/Captures you can find the corresponding files and/or foldersWe're almost done. If you haven't saved it to this folder already, copy the preferred record into the Assets/StreamingAssets/VisionLib/Examples/ImageRecorder folder of your VisionLib Unity project. You can either use the entire sequence or only parts of it. VisionLib will follow the index but won't complain if it is not consecutive.
Open the scene in which you want to use the recording, or open the ModelTrackingSetup example scene from VisionLib Examples/ModelTracking/TrackingSetup.
Note: Even if you recorded your image sequence on HoloLens, you will have to use a regular model tracking scene to replay it.
Navigate to the TrackingReference component on the VLTracking GameObject in the hierarchy. Use the inputSource dropdown to select ImageSequence and enter streaming-assets-dir:VisionLib/Examples/ImageRecorder/mySequence_1/*.jpg (while replacing "mySequence" with the folder name of your recording) in the imageSequenceURI field.
Note: Putting the image sequence in the StreamingAssets folder makes it possible to deploy and replay it on a device. If you only want to use the replay in the Editor, you can also enter other file schemes like local-storage-dir or an url. See File Access for more information on that topic.
If you are calling StartTracking via the TrackingReference like it is the case in our example scenes, the image sequence will now automatically be replayed on the next tracking start.
If you have recorded SLAM data (extendibleTracking enabled), SLAM can be simulated while replaying the sequences. To do this, check the extendTrackingWithSLAM parameter of the TrackingReference.
Alternatively to using the TrackingReference in a Unity scene, the image sequence can also be replayed by adding it to the input section of the tracking configuration file.
For detailed information on input sources and configuration files, please have a look at Handling Input Sources and Configuration File Reference.
In order to simulate your application on-site with your recording, please add the following in the tracking configuration you are using in your application:
In this example, the image source is named imageSequenceFromiOSDevice. You can use any custom name here. This way you can declare multiple image sources in your tracking configuration and specify which one to use by setting the parameter useImageSource to the name of the desired source.
Using an image sequence provides additional attributes to control the images. To understand these parameters, one has to keep in mind, that all files of the image sequence will be added to a list. The index of an image is the position in this list (not the number in the image name). So if your image sequence consists of Image_00035.jpg, Image_00037.jpg, Image_00101.jpg and Image_00159.jpg, the indices of the images are 0, 1, 2 and 3 respectively.
To get or set these attributes, you should call SetValue on the respective RuntimeParameterBehaviour in your Unity scene with the following parameters:
| Parameter Name | Type | Description |
|---|---|---|
| imageSequence.firstIndex | Int | The first index of the image sequence. Per default it is 0. If you set it to a value above 0, the image sequence will start with the ith image. |
| imageSequence.lastIndex | Int | The last index of the image sequence. Per default the last found image is chosen, so that the whole image sequence is covered. If you set it to a lower value, the image sequence will end (or repeat) after the ith image. |
| imageSequence.nextIndex | Int | The index of the next image to display. You can set it to any index between firstIndex and lastIndex to restart the image sequence from this index. |
| imageSequence.stepSize | Int | The increase of the index from frame to frame. By default this value is 1. This attribute can be used to skip frames of the image sequence (e.g. a stepSize of 2 only takes every 2nd image of the image sequence). |