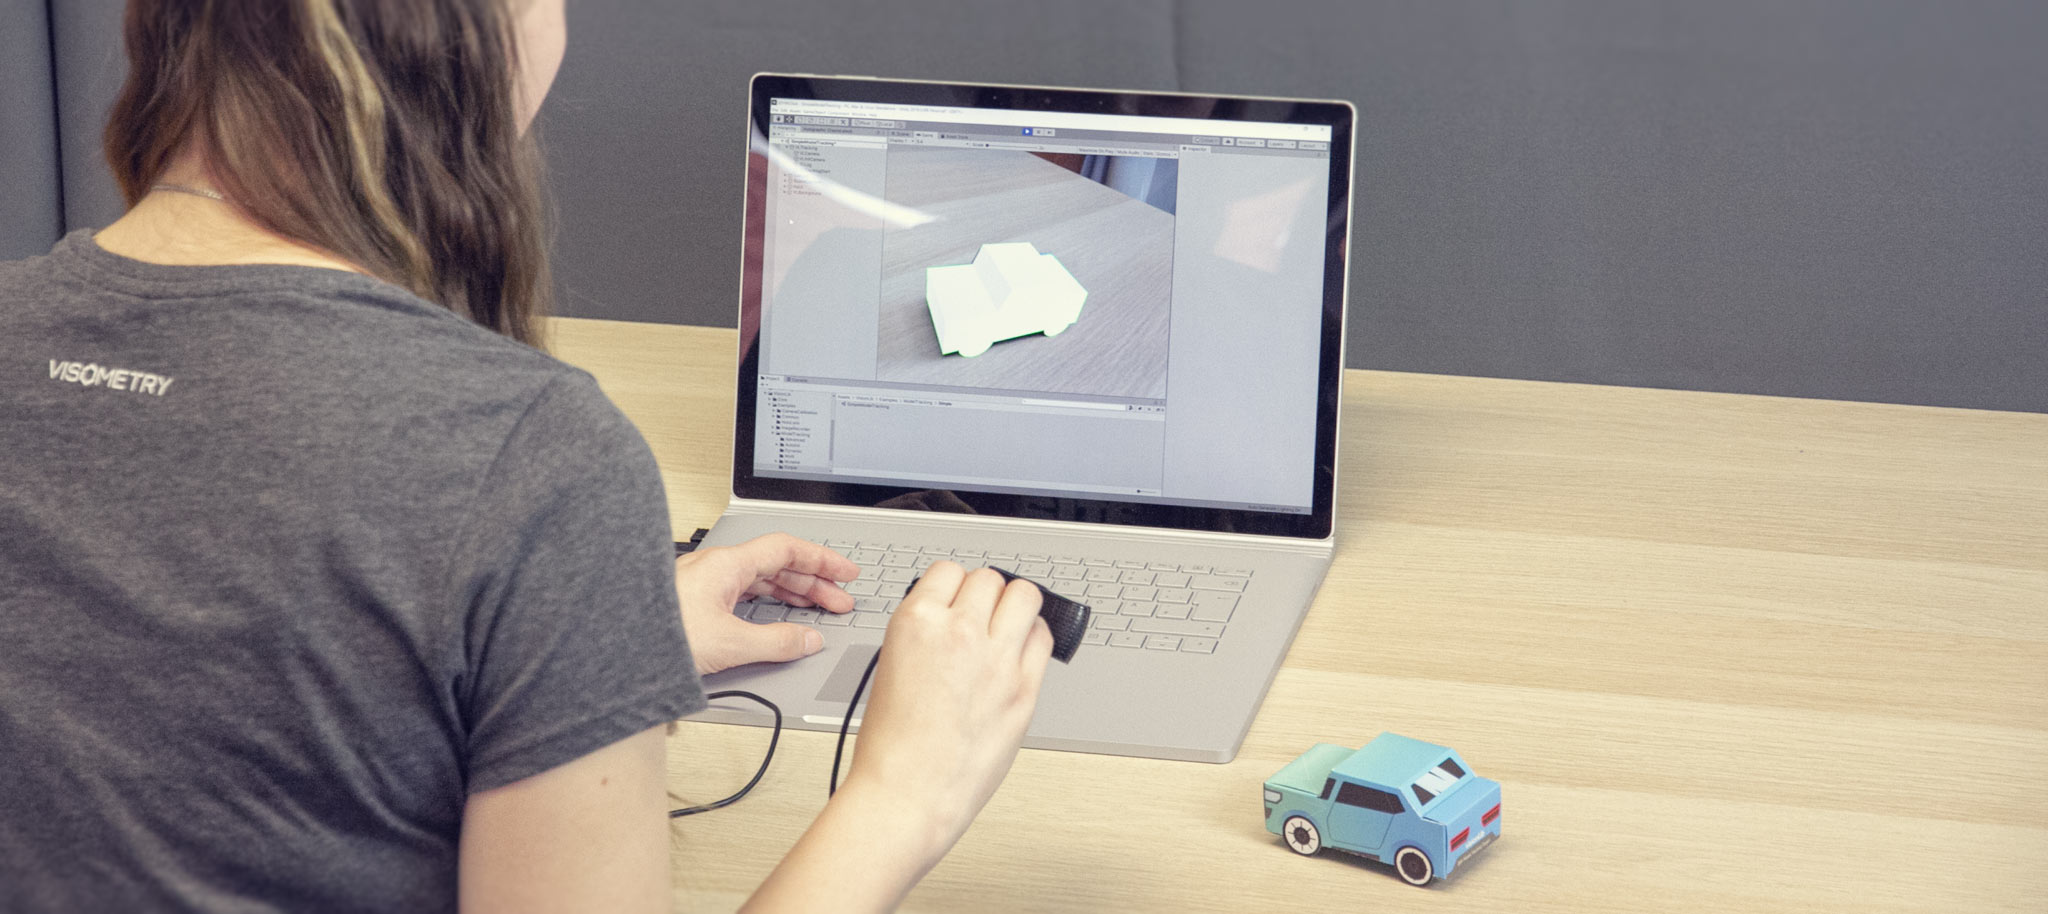
Working with computer vision tracking can become challenging in more complex AR cases.
To assist you in a friction-less development, we provide tools and workflows to help on the journey.
Before you can start, essentials steps are:
The set-up process is essential to ensure a good tracking quality of your tracking targets, and subsequently for a nice XR experience and XR content presentation.
For a quick-start with VisionLib, we recommend working with Unity. You can use the provided example scenes as a boilerplate to speed up your scene setup. Use them and change our demo targets to your custom objects. You can also use them to explore particular VisionLib features upfront. An intro to Unity usage and a quick getting-started is given here:
Regarding tracking functionality, we recommend to make yourself familiar with VisionLib's main features, concepts and workflows in our tracking articles:
Configuration files are a declarative and amply way to control VisionLib tracking. They are needed each time you are using VisionLib. A detailed reference to VisionLib's config (.vl) files is given here:
Quicker Prototyping: To set up your tracking even quicker, we recommend using VisLab. Here, you can:
Like this, identifying obstacles in the VisionLib configuration or with the tracking target becomes a quick thing. You can save the results as a .vl-file and use it later when implementing your application logic, e.g. in Unity.
API-wise, you can also use VisionLib's C- and Objective C-API for native platform development.
Before creating a complex application around it, test your tracking on the target devices or with the target camera.
You can test your scene in Unity if you have a webcam attached. Have a look at the example scenes under VisionLib/Examples to learn how to monitor and influence parameters during runtime.
In VisLab, after dragging & dropping your model(s) inside, all you need to do is press Start. You can tweak parameters from the panel or update the initial pose by moving around the active render camera in the editor.
After that, you can simply store your results in a .vl-file and load it into Unity to continue development there.
Continuously deploying on the target device during AR development can be quite tedious.
To avoid this, we recommend creating so called image sequences. These are basically short recordings of your tracking target, acquired with the target device's camera.
After recording, you can use them to simulate the tracking on desktop to speed up development.
Move around your target and see if you get satisfying tracking results. If not, isolate the breakpoints and re-adjust tracking parameters, if necessary.
Testing involves edge cases. Think about how your target users would approach your application. Help them dive into AR/XR, by giving them an idea of how to get tracking started. Give feedback, once tracking is lost, and give instructions on how to retrieve it again. Maybe people are holding the camera too distant or too close to use your app properly.
You can listen to VisionLib's tracking states to interactively react on changes in tracking.
After setting up and testing your tracking case, you are ready to deploy your application. See here, how to build a Unity project with VisionLib.
Just before roll-out and (final) deployment is a good time to get proper VisionLib licensing for your app.
For example, if you own a Deployment License and want to deploy in App Stores, now would be the time to hash your (3D model) tracking targets and bind them to your license.
More on Licensing options can be found at Licensing.
If you still have questions, you can start by taking a look at our FAQ page.
Also, feel free to chat with our support by writing at support@visionlib.com.