documentation


It is possible to use VisionLib together with the Mixed Reality Toolkit from Microsoft. The steps for integrating it in a Unity project together with VisionLib are described below.
Consider also reading the HoloLens Tutorial for more details regarding HoloLens applications with VisionLib.
Note: It is not possible to remote control the HoloLens from Unity when using VisionLib at the moment. You have to deploy your application using Visual Studio to test the tracking properly.
Please make sure that you have installed all required tools and adjusted the settings for HoloLens and Unity Development.
The Mixed Reality Toolkit is compatible with Unity 2018.4 or higher. This guide has been tested with MRTK v2.1.0 .
If you are using Unity 2017, see the integration guide for the HoloToolkit below.
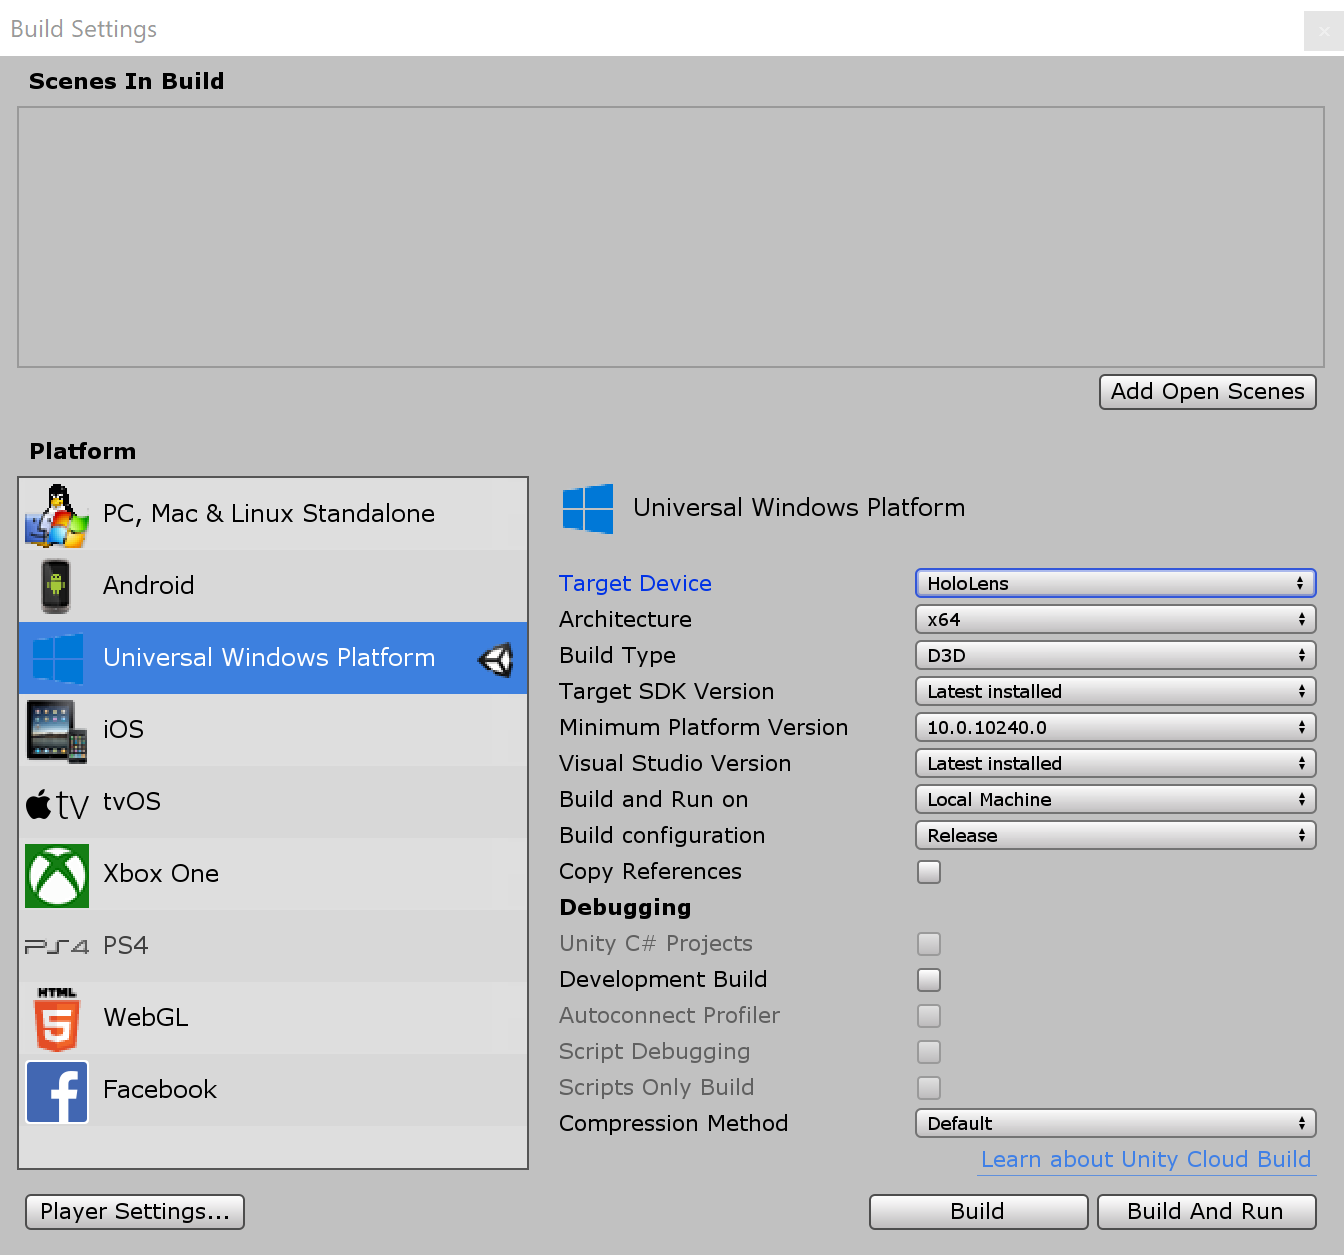
In the Build Settings of your project, choose UWP with HoloLens as target device and click Switch Platform.
VisionLib
vlUnitySDK.unitypackage into your Unity project.Assets/StreamingAssets/VisionLib.Mixed Reality Toolkit
Microsoft.MixedReality.Toolkit.Unity.Foundation.unitypackage into the Unity project. Apply requested settings changes. 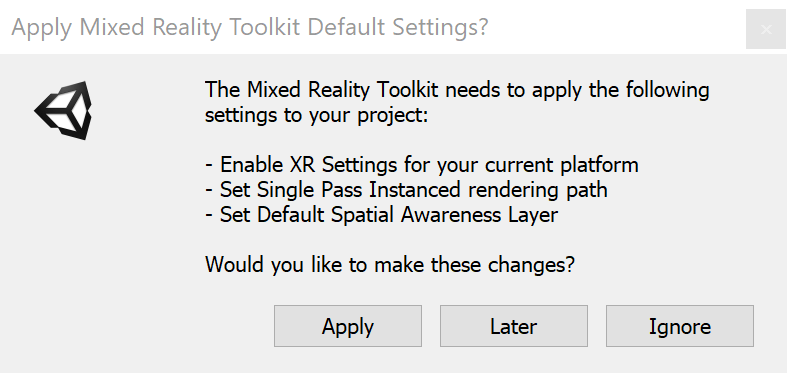
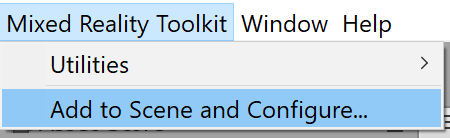
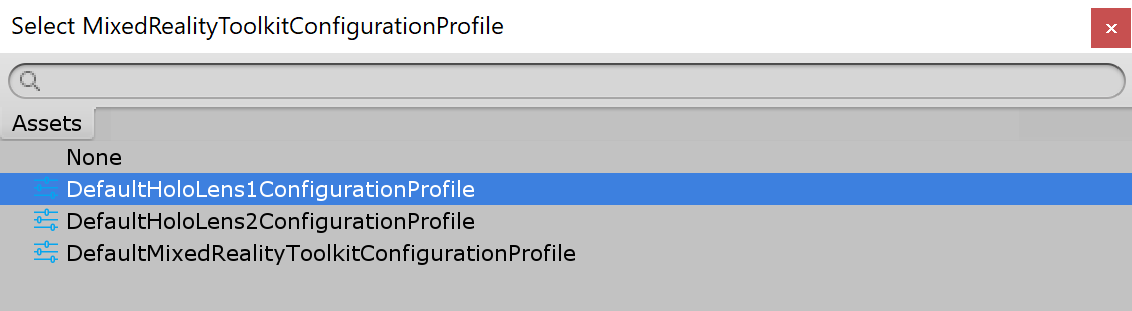
HoloLensSimpleModelTracking scene from VisionLib/Examples/HoloLens. For further developments please make a copy of it to create a custom scene.Click on Mixed Reality Toolkit in the menu bar and press Add to Scene and Configure...
From the printed selection dialogue, choose DefaultHoloLens1ConfigurationProfile.
It is recommended to use Unity 2017.4 LTS together with the HoloToolkit v1. Note that VisionLib has ended its support of Unity 2017.4, so you will need to use an older SDK version (20.1.1 or below).
This guide has been tested with the HoloToolkit versions 2017.4.1.0 and 2017.4.3.0.
VisionLib
vlUnitySDK.unitypackage into a new Unity project.Assets/StreamingAssets/VisionLib and name it license.xml.HoloToolkit
HoloToolkit-Unity-2017.4.3.0.unitypackage into the Unity project. (Enable Visible Meta Files, if requested)Mixed Reality Toolkit/Configure:Apply Mixed Reality Project Settings, leave the default options as shown below and press Apply 
Apply Mixed Reality Scene Settings, deselect Add the Mixed Reality Camera Prefab as shown below and press Apply 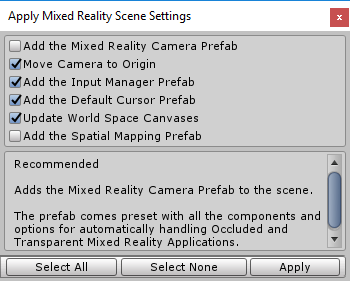
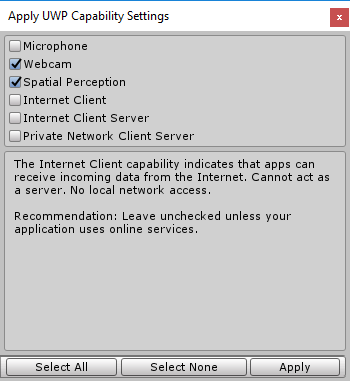
Apply UWP Capability Settings, check Webcam and Spatial Perception and any capabilities you want to use in your application (like the microphone for voice commands) and press Apply