
documentation


This tutorial page shows you how to track multiple models with VisionLib.
Note: This feature is still in beta, and might be modified in upcoming releases.
Important: This feature depends on VisionLib's AutoInit. If you are not familiar with it, please read the AutoInit tutorial first.
Before implementing multi model tracking,
Additionally,
.vl file) to improve initialization results (see External SLAM (ARKit/ARCore) Support)Multi model tracking might get performance-intensive and can thus cause problems on older hardware. We recommend using hardware from 2018 or newer.
This feature is currently not supported on HoloLens.
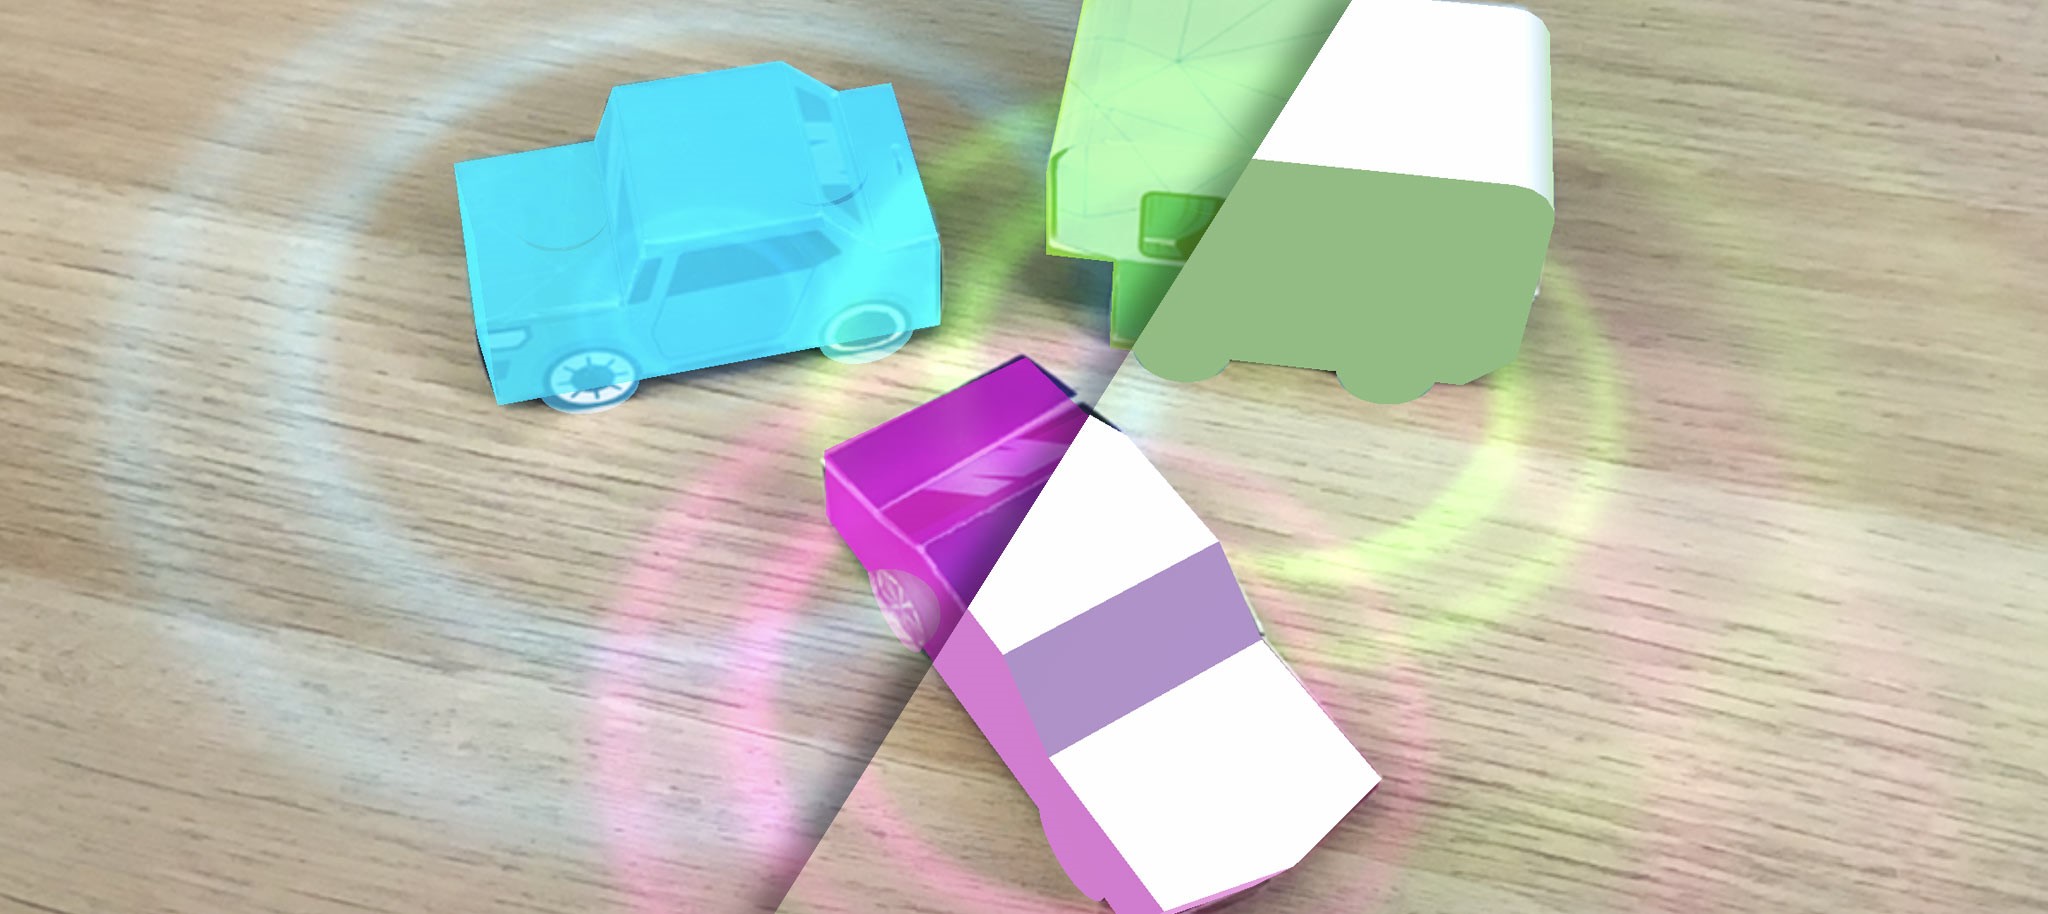
You can find an example implementation of multi model tracking with TrackingAnchors in the MultiModelTracking scene located at VisionLib/Examples/ModelTracking/Multi.
To test the example scene, use the tracking targets that are provided here: https://visionlib.com/resources.
The following steps allow you to add multi model tracking to an existing VisionLib Unity scene.
Select the VLCamera, scroll down to its VLTrackingCameraBehaviour component in the inspector and set the Coordinate System Adjustment dropdown to Multi Model Tracking.

Drag a VLTrackingAnchor prefab from VisionLib/Utilities/Prefabs/ModelTracking into the hierarchy. This object reflects one of your individual tracking targets and will manage all connections that are needed for it. So if you want to track three different models, you will need three VLTrackingAnchors in your scene.
Now, give each of your tracking anchors an distinct name by setting the Anchor Name in the inspector of the GameObject.
Drag the model, that you wish to use to augment one of your tracking targets, into the hierarchy of your scene. It is recommended to drop it under the according VLTrackingAnchor GameObject, but this is not mandatory. Make sure to keep its position at (0,0,0).
Now, with the VLTrackingAnchor selected, drag the model from the hierarchy inside the Augmentation parameter of the according TrackingAnchor. With this connection, the visualization model will be activated as soon as the tracking target is detected. Also, its transformation will be set to match the position of the real model.
Repeat this for all TrackingAnchors in your scene.
Copy the VLWorkSpace(s) that you used to set up the AutoInit of one of your tracking targets inside your scene or drop and adjust a new VLWorkSpace prefab in the hierarchy. Rename it to be clearly associated.
Again, it is recommended to drop it under the VLTrackingAnchor GameObject, but this is not mandatory. Make sure that the Destination parameter of the WorkSpace is still set like desired.
Now, type the number of used WorkSpaces inside the Size parameter under Work Spaces inside the VLTrackingAnchor inspector and drag the WorkSpaces for this TrackingAnchor inside the list that appears below.
Repeat this for all of TrackingAnchors in your scene.
The referenced WorkSpace(s) will later be used to automatically initialize the tracking target of that anchor.
At last, drag the VLWorkSpaceManager prefab from VisionLib/Utilities/Prefabs/AutoInit into the hierarchy. Always use only one VLWorkSpaceManager in your scene.
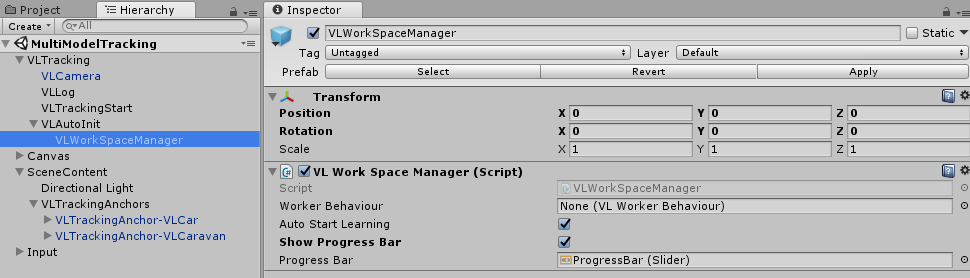
Note: Keep in mind that a high count of origin points of the WorkSpaces may increase the initialization speed but also decrease the performance and should therefore be set carefully.
Find the file multiModelTracking.vl from StreamingAssets/VisionLib/Examples/ModelTracking, copy and rename it. Put it in a folder inside StreamingAssets next to your tracking model files.
Open your copy of the tracking configuration in an editor. You will notice the following changes to a "simple" model tracker:
"type" to "multiModelTracker" with version 1.
"autoInit": true in the parameters section:
This section inside the parameters body holds a list of trackingAnchors, each of which is defined by a name and a models section. The latter contains the file path of the according tracking target.
Important: Change the name of the anchors to match the ones you have set in the Unity scene before. The name of an anchor in the tracking configuration must be exactly the same like in the according VLTrackingAnchor GameObject.
After that, provide the filename of your tracking targets that are located inside the StreamingAssets folder. You can write project_dir:/myModel.obj as long as a copy of your model is inside the same path as the tracking configuration.
Note: Use a different model for each anchor. At the moment, it is not possible to track multiple instances of the same object.
If you are using the example tracking configuration, all set tracking parameters will be applied to all tracking targets defined in anchors.
If you want to set varying parameters for the tracking targets instead, you can do so by inserting an additional parameters section for an anchor. This will overwrite the respective parameter for this specific anchor.
See an example for this below:
As always, reference your used tracking configuration (.vl file) on the VLTracking object and your license on the VLCamera.
After setting up your TrackingAnchors and its references, you are now ready to start tracking. This works exactly like starting an AutoInit scene, either automatically with the VLWorkSpaceManager(which is active by default), or by calling VLWorkSpaceManager.LearnWorkSpaceInitData() e.g. on a button click or from your script.
Wait some seconds (activate the progress bar in the VLWorkSpaceManager to show the learning progress) until all poses have been trained.
Now you can point your camera to one or multiple physical object(s) that match the defined tracking targets and they will be tracked.
You can track up to three different models with a basic license e.g. the trial or developer license. If you want to extend the number of tracked models, please write us at request@visionlib.com.
If you have issues or suggestions on how to enhance or integrate this feature, please do not hesitate to contact us on request@visionlib.com.