
documentation


This article will guide you through the first steps with the VisionLib SDK for Unity. You will learn how to track our paper car and how to replace the car with your own model.
Before you start, be sure to have the following installed or at hand:
VisionLib.SDK-Unity package, downloaded from the customer areaVisionLib.SDK-Unity.tgz via the package manager.VisionLib.SDK.Examples-Unity.unitypackage via Assets > Import Package > Custom Package.VisionLib Examples/ModelTracking/Simple in the project navigator and open SimpleModelTracking.unity.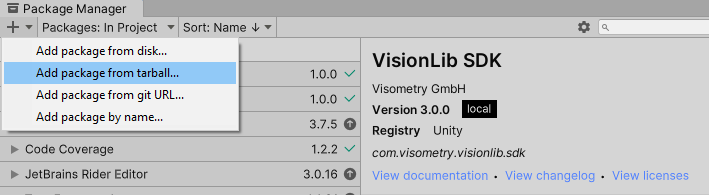
StreamingAssets/VisionLib folder of your Unity project.Select the VLTracking GameObject in the hierarchy and drag the license file from the project view into the public License File field in the inspector of the TrackingConfiguration component.
Start button.The example scene will ask you to select your camera now.
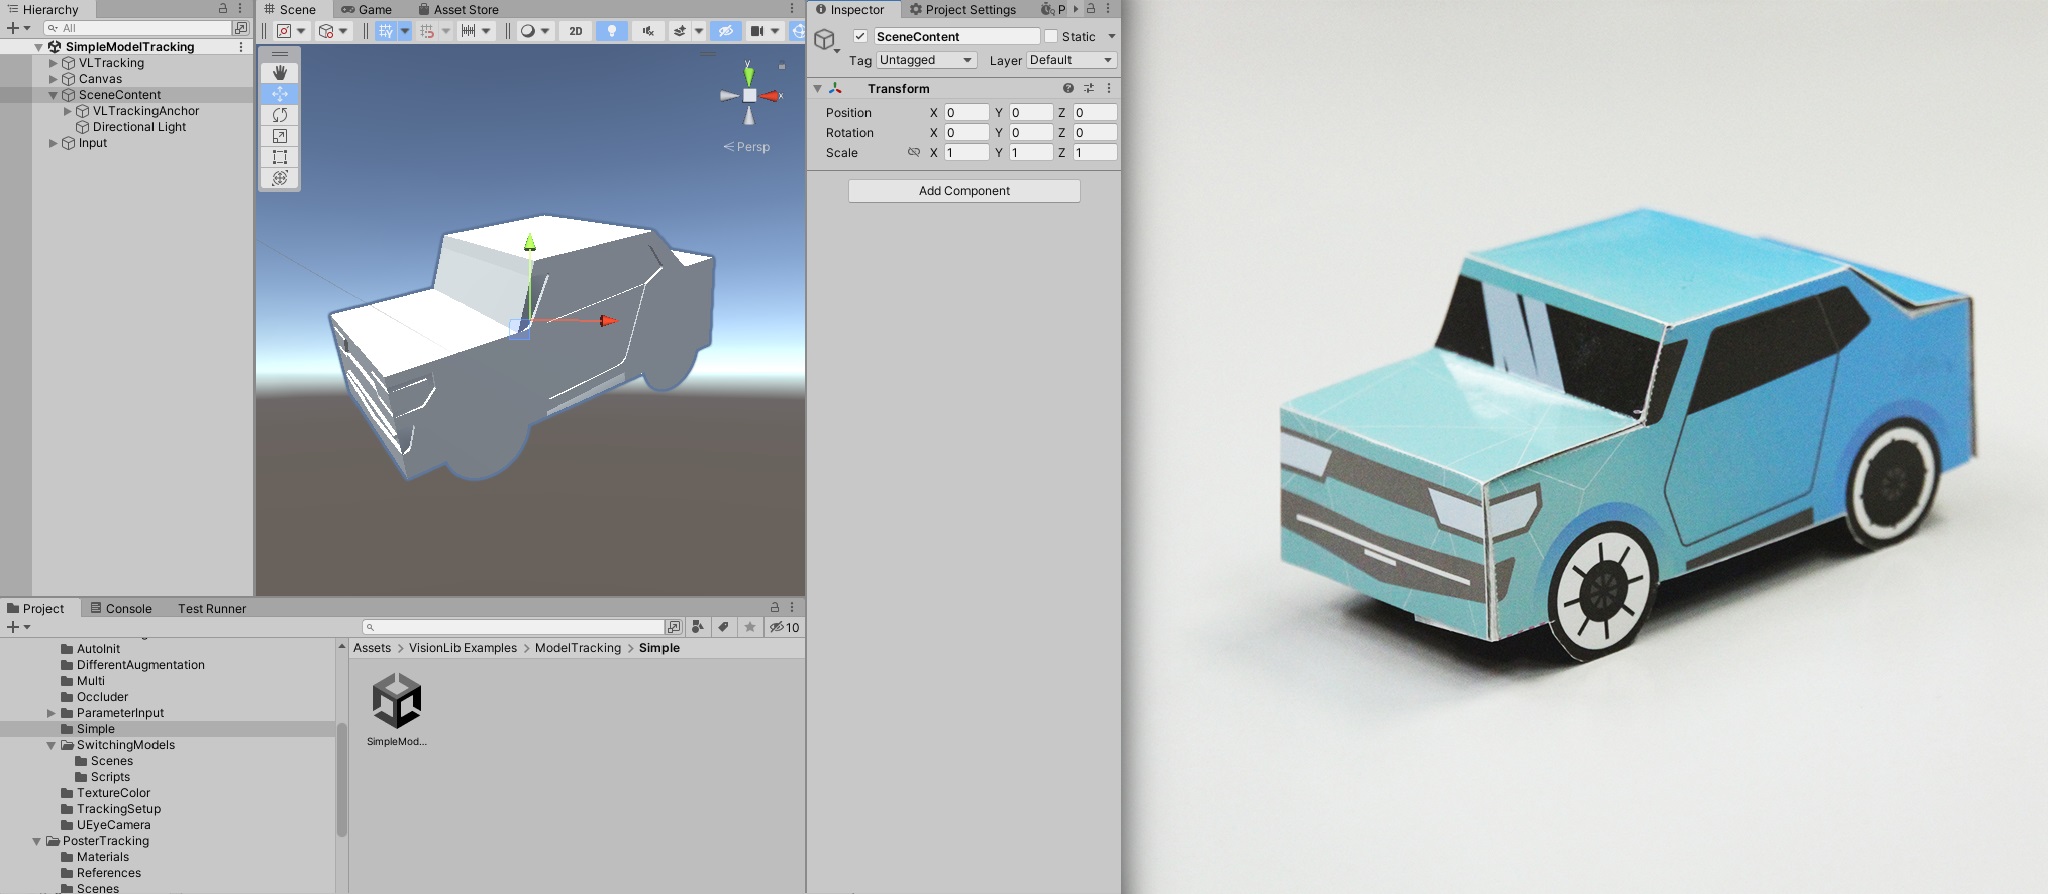
You should see the live camera stream and a rendered view of the 3D mini car model in Unity's game view now.
If everything worked correctly, your game view should look like in the picture above.
In this simple demonstration, the same 3D model that is used for tracking is also used as augmentation (i.e. superimposed over the camera stream). You can, of course, replace this simple augmentation with an arbitrary and more complex model using Unity's full range of features. You can also see the new setup for this feature in the corresponding documentation page Using Different Augmentation and Init Pose Guide. Unlike other tracking techniques, model tracking will always use a physical object as reference. One of the major advantages of this technique is that the spatial relationship between the camera and the model in real world units becomes known as soon as the real object is recognized and tracked in the images. This makes placement of augmented content with respect to the tracked object very straight-forward.
To track a different model, you need:
In this example, we will replace the mini car with a sports car model. To do so:
Models folder of your project.SceneContent/VLTrackingAnchor, disable the VLMiniCar GameObject.Models folder.SceneContent/VLTrackingAnchor.SceneContent/VLTrackingAnchor. There should be a warning telling you that no TrackingMesh is found in the subtree. This means that the TrackingAnchor could not find any models designated as tracking geometry. To solve this issue, press the + button below the HelpBox stating Add TrackingMesh components to all models. This marks all Meshes under the TrackingAnchor as tracking geometry.init pose) has to be adjusted. This is the relative pose between the camera and the real tracked object at which tracking will be initialized. The camera will later have to be moved to this pose to engage tracking. To adjust this pose for the new model:Center in Slam Camera button on the TrackingAnchor. This will move the TrackingAnchor to a position where it is fully visible in the Game view window. Pressing the button will also adjust the near and far plane of the selected camera if this is necessary to keep the model entirely visible.TrackingAnchor's pose until you have found a satisfactory initial pose.VisionLib checks for a range of issues with the scene setup. To see if there are any such issues in your scene (and resolve them), select the VLTracking GameObject in the scene hierarchy. If there are any issues, they will be displayed in the Tracking Configuration component. Most of these issues come with one (or more) easy fixes. A common problem at this point in the configuration may be that your TrackingMesh cannot be serialized. This happens if the Read/Write Enabled option in your model's import settings isn't enabled. To solve this, just press the Fix button on the specific issue.
Start button and select a camera. The new model should now be rendered as you've defined its init pose in the scene.Congratulations! You just tested VisionLib's 3D model tracking and exchanged the demo model.
If this did not work with your model, we recommend loading the model into the ModelTrackingSetup example and troubleshooting the tracking there. Refer to this article for guidance on finding the correct tracking parameters for your model: Using the Model Tracking Setup Scene.
You might have noticed a warning about your camera not having been calibrated. Calibration is a crucial step, which generally improves tracking performance by a great deal. We therefore recommend calibrating your camera as the next step. The calibration process is described in this tutorial: Camera Calibration.